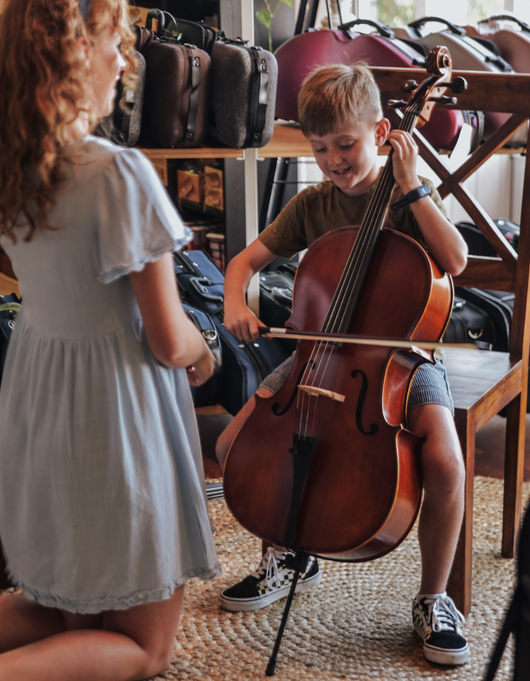
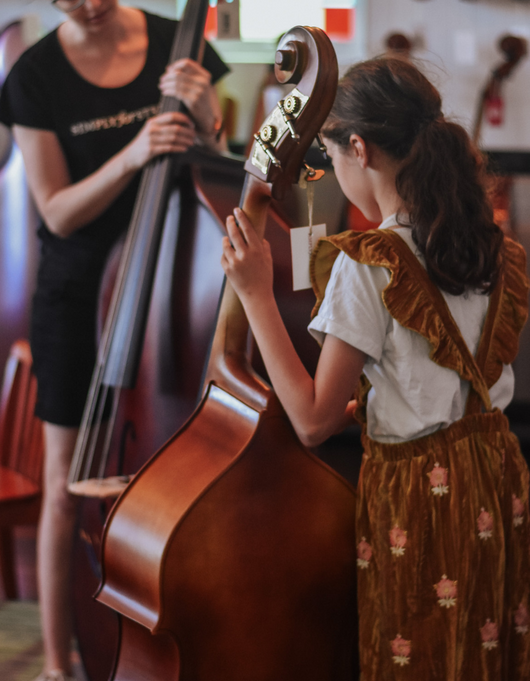
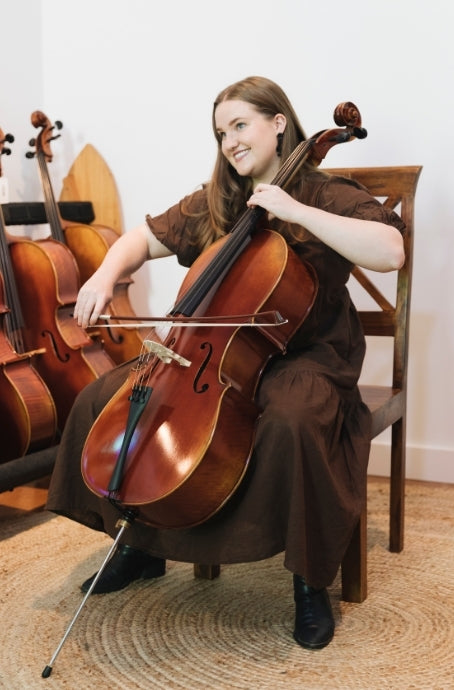
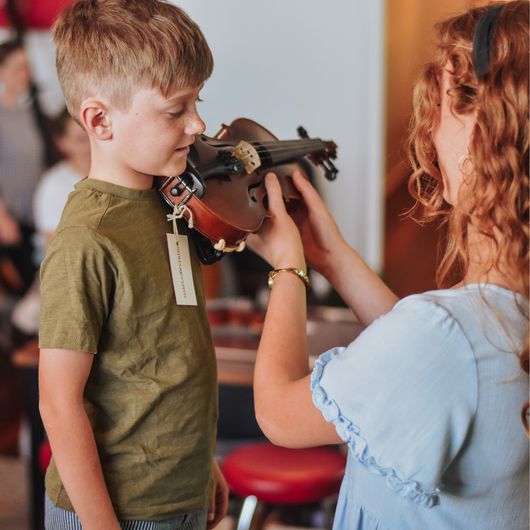
The construction of the viola demands a large amount of time, concentration and years of mastery.
A Brief History of the Viola
The viola is a descendant from the Viol family of instruments. This includes any stringed instrument that is fretted and/or bowed. It predecessors include the medieval fiddle, rebec, and lira da braccio. We can assume by paintings from that era, that the three string violin was in existence by at least 1520. By 1550, the top E string had been added and the Viola and Cello had emerged as part of the family of bowed string instruments still in use today.
It is thought by many that the violin and viola probably went through their greatest transformation in Italy from 1520 through 1650. Famous violin makers such as the Amati family were pivotal in establishing the basic proportions of the violin, viola, and cello. This family’s contributions to the art of violin making were evident not only in the improvement of the instrument itself, but also in the apprenticeships of subsequently gifted makers including Andrea Guarneri, Francesco Rugeri, and Antonio Stradivari.
"It was not until the end of the 19th century that the viola gained the same status as the violin. The great difficulty was to find the perfect balance between size and ease of playing, as is shown by several attempts to improve the instrument’s construction which led to the development of various different types of viola in the first half of the 20th century. Smaller instruments are easier to play, but their sound is too soft; larger instruments produce the desired volume but are harder to play. In 1875 Hermann Ritter made a so-called viola alta which had a body 48 cm long. Although Richard Wagner and Richard Strauss appreciated its powerful sound and made use of it in the orchestra, it presented the musicians with considerable difficulties – which were even detrimental to their health. In the 1930s the Englishman Lionel Tertis made a model with a 43 cm long body, which successfully combined size (= volume) and ease of playing. Its full, deep and warm sound was impressive. As a rule larger instruments (approx. 43 cm) are used by professional musicians, while smaller models (approx. 40 cm) are intended for amateurs." Quote from Vienna Symphonic Library.
How a viola is made - every part by hand
A viola maker is called a Luthier. A luthier is someone who builds, repairs, or restores string instruments such as the violin, viola, cello and double bass. The word luthier comes from the French name luth, which means lute. A luthier was originally a maker of lutes but the term evolved to include makers of string instruments such as violins and guitars.
A luthier will likely only work four to five hours a day to help maintain a high level of mental focus. A luthier will likely (but not always) work on multiple instruments at a time, carving some instruments whilst others dry. Each instrument requires about 150 contact hours before it is ready to play. A master violin maker, using traditional methods, working full-time in a workshop, will craft around ten to fifteen violas a year. Antonio Stradivari produced roughly 1,116 instruments during his lifetime, at an average of 14.5 instruments a year.
A viola starts its life as a wedge of wood - usually spruce or maple - which is then sawn in two. These two halves are then glued together in what is known as ‘butterflying'. This process is used for the back and top piece of the viola. The back and top pieces are then cut to the shape of the instruments blueprint which is transferred onto the wood. These shaped butterflied pieces are then shaved by hand, to leave the pieces with a thickness no larger than 3.5mm. The ribs start as straight pieces of wood, as displayed. However, in a very delicate process, involving dampening, steaming and bending the wood, they end up matching the contour of the shoulders and c-bout and are glued to the 6 structural blocks inside the viola.
After the ribs are glued to the blocks, the top and back pieces are then created to match a template, known as the ‘form’. These pieces are then glued to the ribs using a lining which you can see in the displayed disassembled violin. The end blocks and the corner blocks, which sit in the points of the c - bouts, are structurally integral to the viola. The neck, minus the fingerboard, is set in the top end block. The soundpost (inserted after completion) and bass bar (attached during construction), which do offer some structural support, are primarily there to help generate sound. The soundpost is often called the ‘soul’ of the viola.

The process of varnishing a viola is time-consuming and is an art within itself. Each luthier has their own individual recipe, which creates a distinctive colour and finish, which subsequently can be used to identify the maker of the viola. Ingredients such as seedlac, gum mastic, lavender oil and special ethyl alcohol are placed into a glass jar, mixed twice a day and take about one to three weeks to dissolve. After this process occurs, the varnish needs to be double boiled and filtered before it is ready to be applied to the viola. The varnish is hand painted onto the white viola, and each layer needs a week to dry and set before another layer can be added. Linseed oil based varnishes take at least three coats, whereas an alcohol-based varnish needs at least six coats. The old Italian masters used to hang their instruments out their windows to dry, but nowadays some luthiers invest in UV cabinets to hasten the drying process.
After a viola has been constructed, and all varnish coats have been applied and dried, the viola is now ready to be ‘set-up’. An instrument set-up includes; the bridge, soundpost, pegs, tailpiece, end button, strings and a neck/fingerboard finish. These are the main functioning parts of the instrument that a violist will use and must be completed to a high-quality in order for the viola to remain in tune and sounds its best. Simply for Strings luthiers complete this set up on every instrument sold.
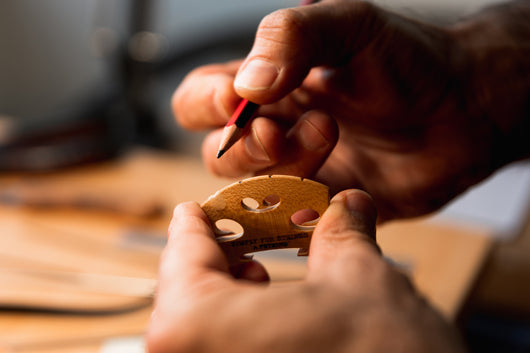
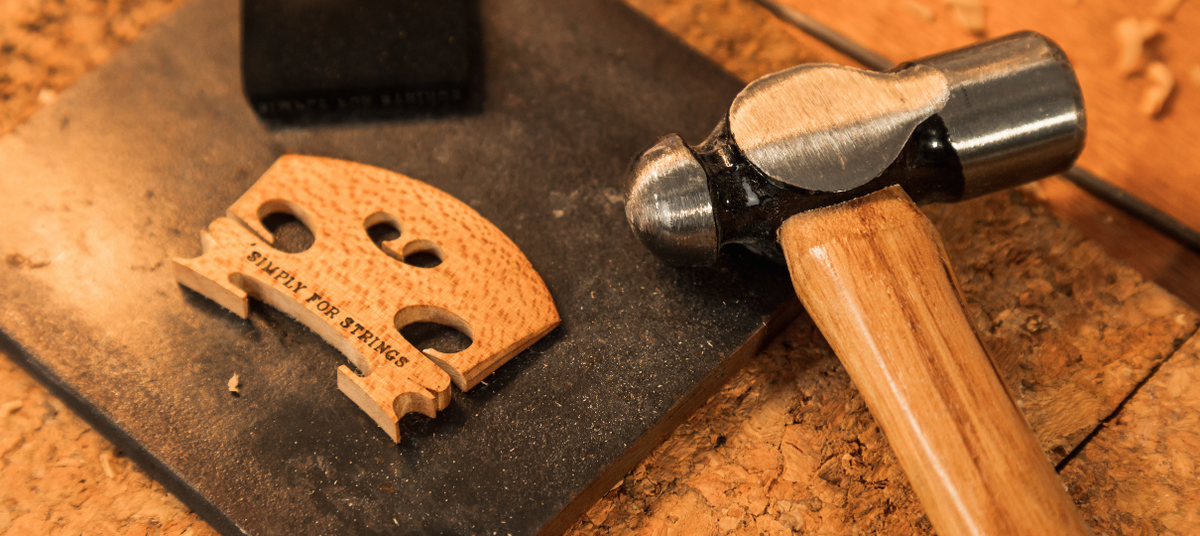
Every luthier has their own set-up hallmarks. The bridge is one of the most important parts of the instrument and is carved/fitted in such a way as to help produce an instrument's tone, luthiers will also add artistic flair to the carving of their bridges. Some luthiers can be identified by the way their bridges are carved.

Most makers will place a label inside the viola to signify the make, model and luthier/workshop in which the viola was crafted. There is a science to the set-up of an instrument - however unlike scientific fact, ‘set-up science’ is open to interpretation. For example, the positioning of the soundpost differs from luthier to luthier. Although all luthiers agree the soundpost goes in a general area, the exact position, down to the millimetre, is much debated. If the soundpost is placed slightly towards the right side of the viola, the instrument may have a more prominent treble timbre. If the soundpost is placed closer to the bridge, the instrument may become more direct and clear but may lose some of the mellow overtones.
If you have any questions, or want to learn more about this fascinating process, chat with our team of friendly players, makers and educators today.


